

How to Paint a Pumpkin in Watercolors
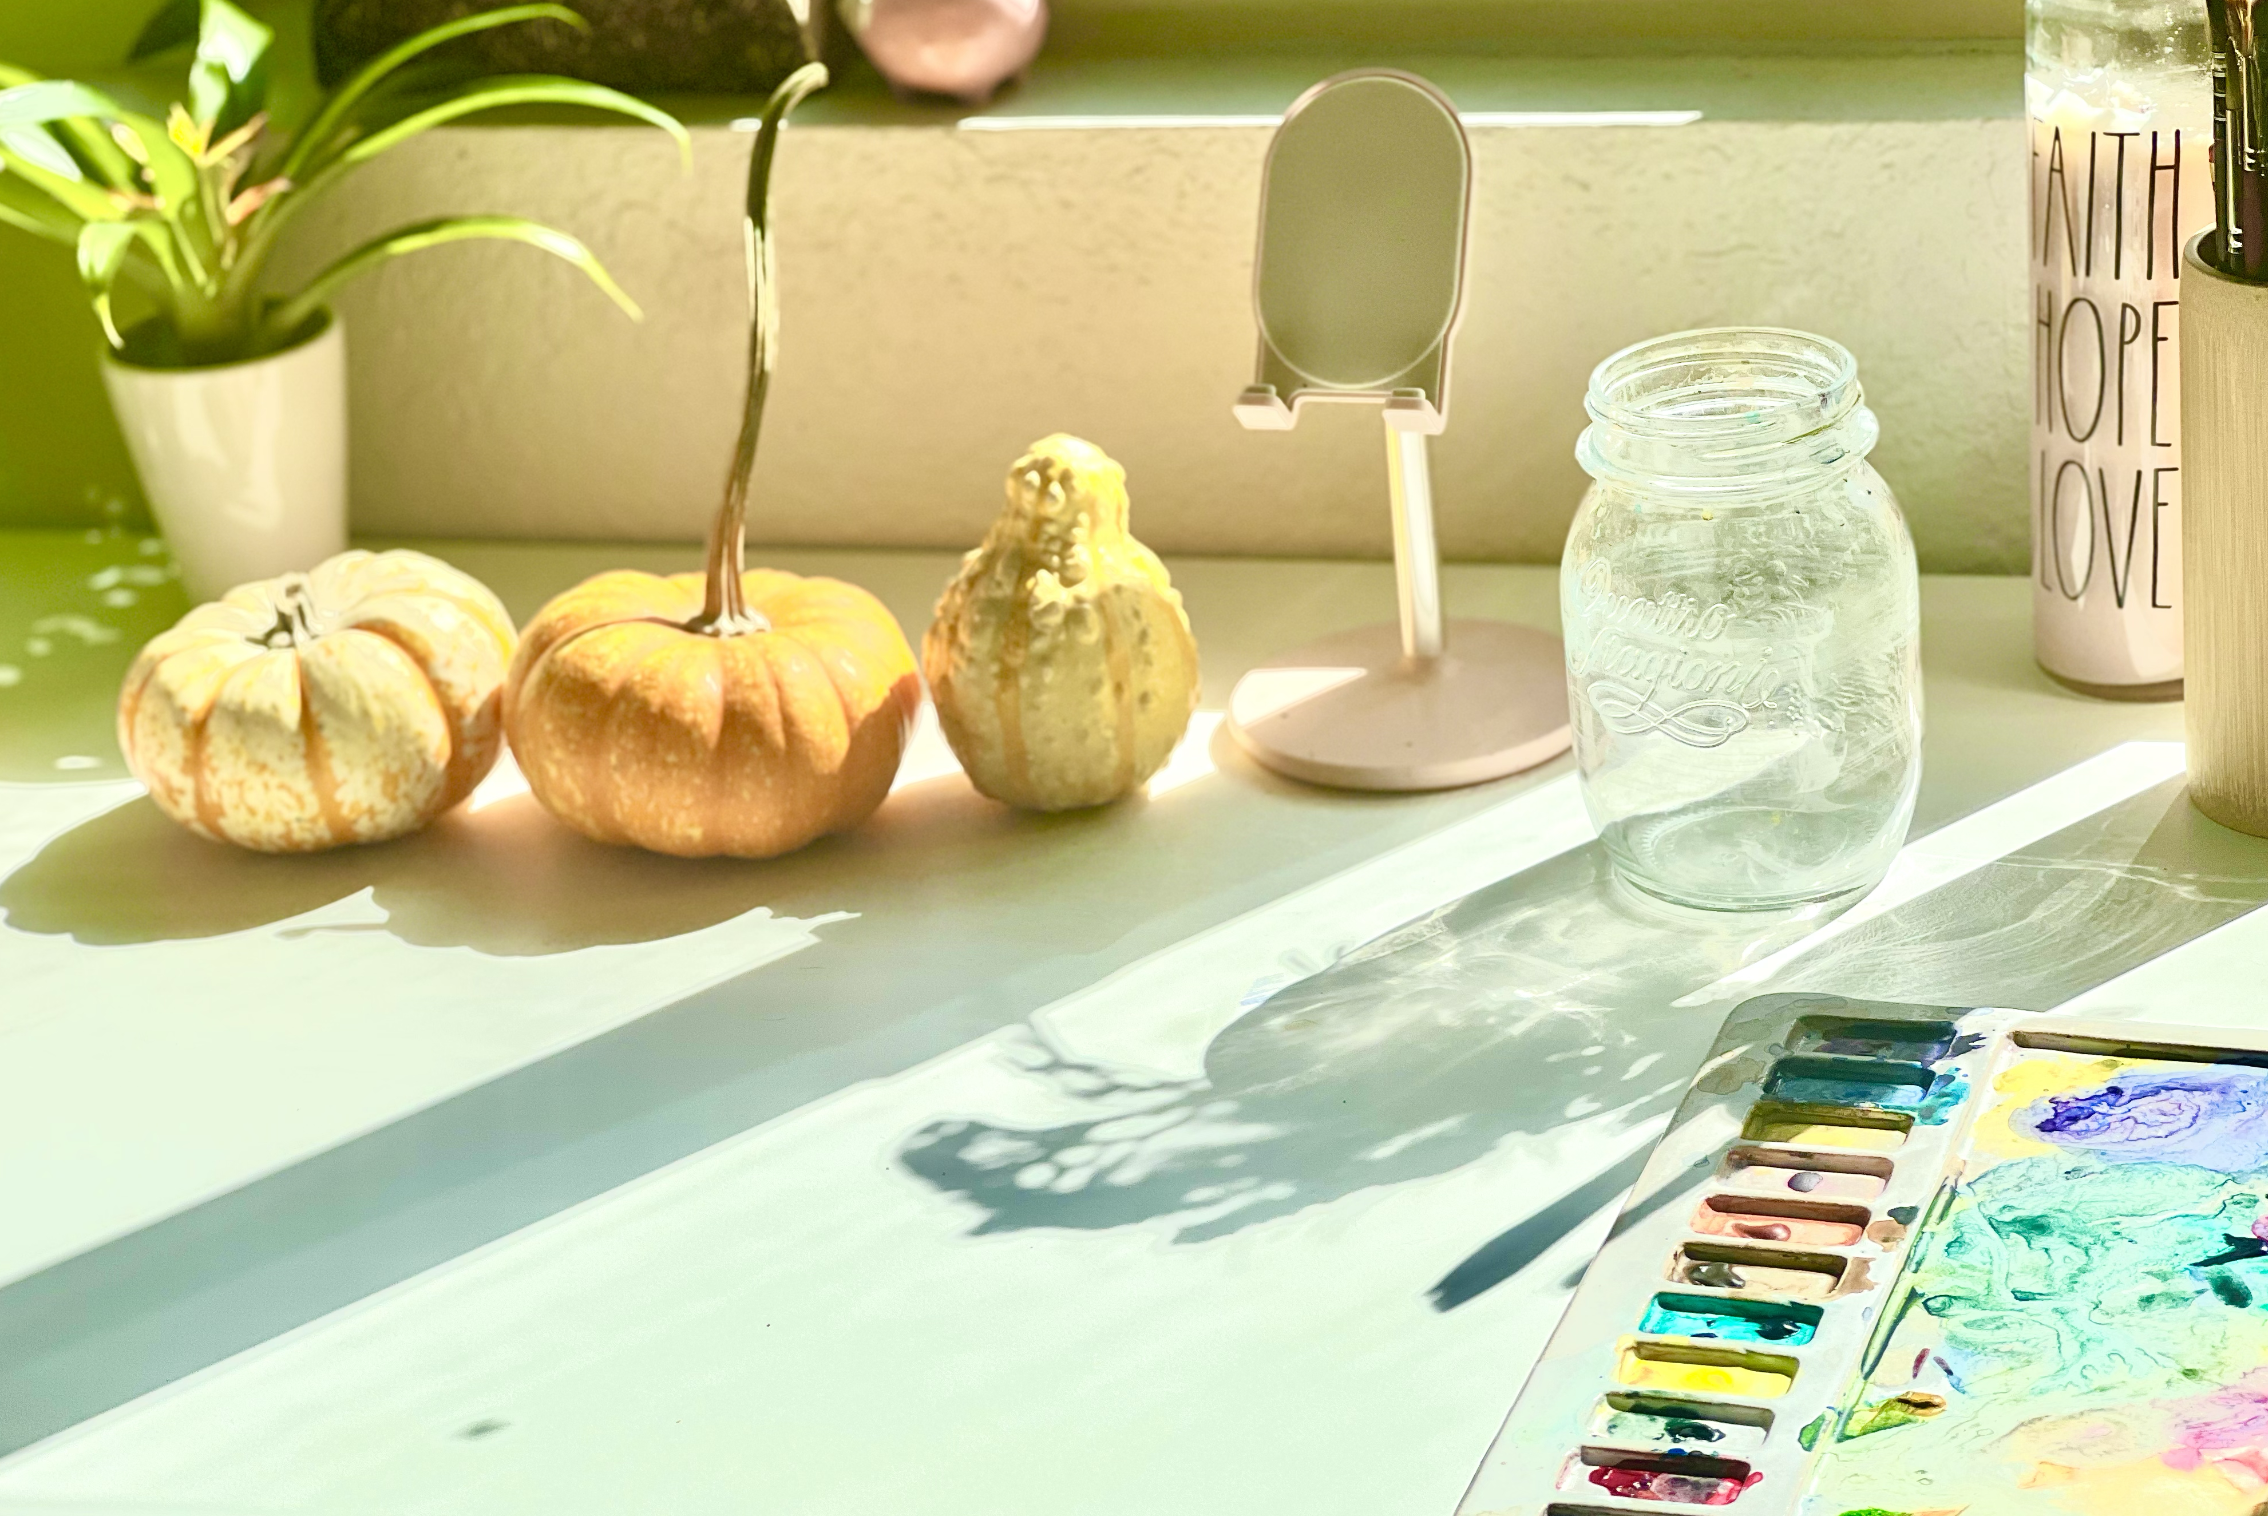
September brings colorful gourds, flowers, and landscapes. With fall around the corner, some of the most beautiful painting subjects emerge. I purchased a few gourds at the local market so I could create this tutorial today. It’s one of my favorite times of year and I look forward to practicing painting them. Let’s start with the colors.
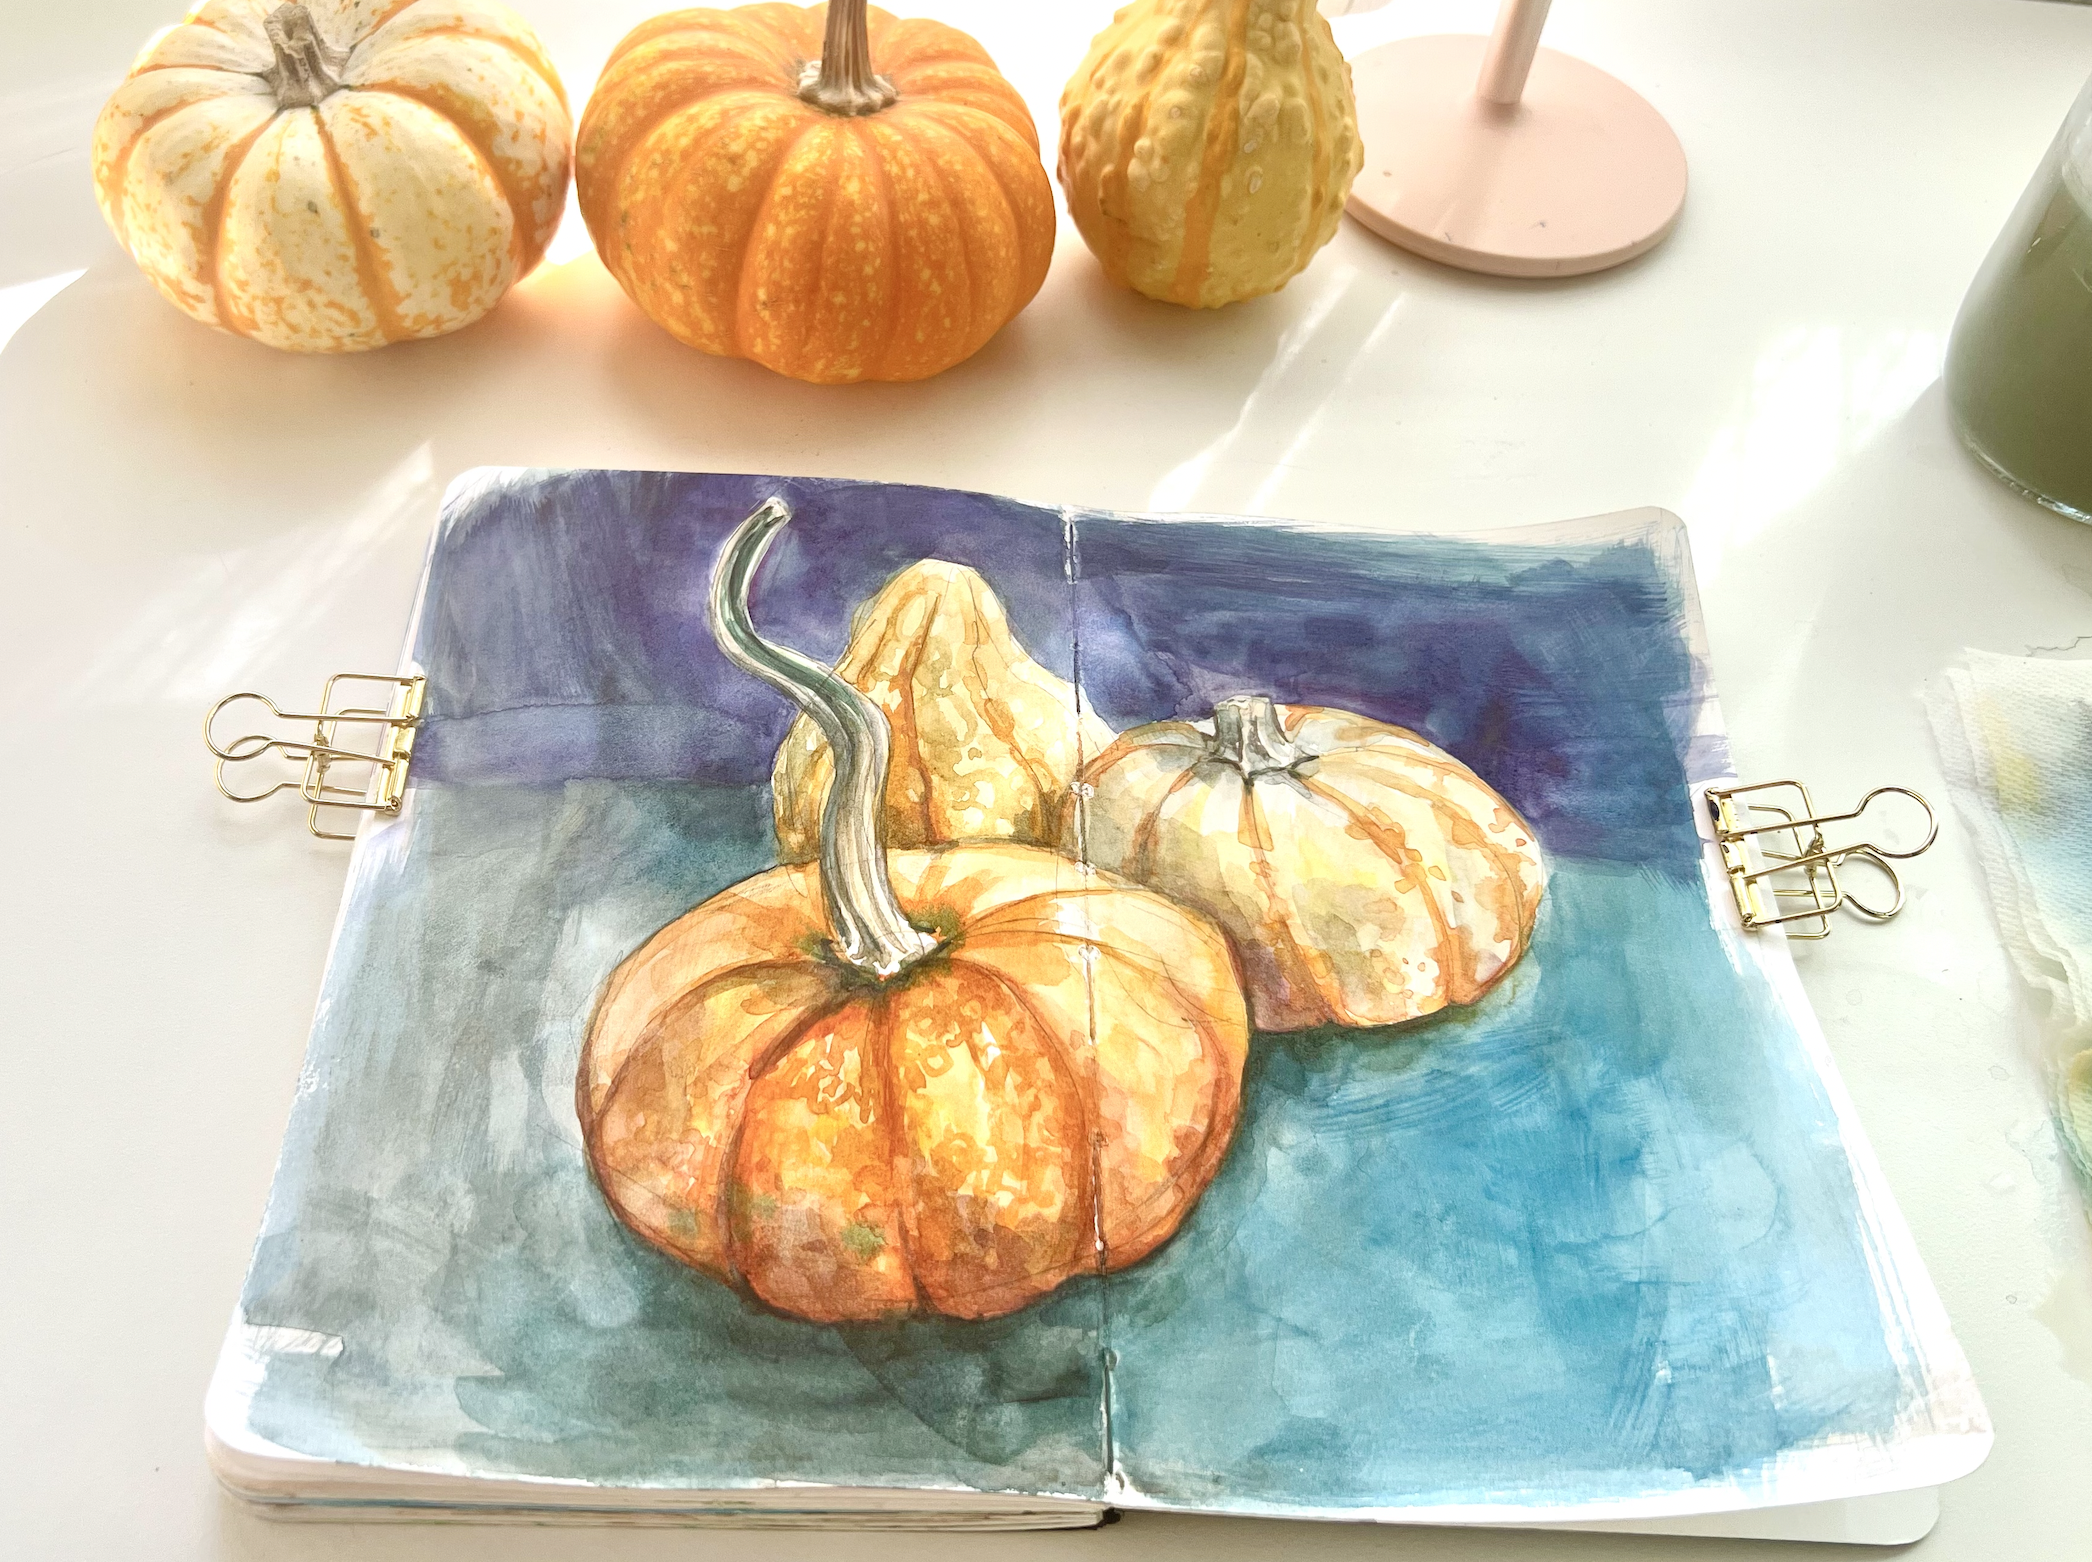
For years I’ve been experimenting with gourd colors while painting. In the background of this piece I used pthlalo blue, a hint of alizarin, a tiny bit of indian yellow, and a touch of green. Here is the list of colors I used to achieve this painting.
Alizarin crimson
Pthlalo blue
Pthlalo green
Indian Yellow
Yellow Ochre
Purple
Watercolors are different from other mediums because you block in color. Once you have painted over a specific area, you cannot change it or get the white paper back without using another medium. That’s why I do a little planning beforehand and sketch the shapes I want to paint and any areas I want to leave white. The old master painters such as Leonardo da Vinci and Vermeer used to create an under paintings. Experimenting with this process might be a fun process for you to try. The purpose of an underpainting is to make the white paper a middle value so your eye stops focusing on the white (lightest value) and can instead work on building or subtracting values.
Step 1: Prepare the watercolor paper with a watercolor under painting
I began by eliminating the white background of the paper with one layer of burnt umber. This drops back the white color of the paper and brings the values forward. Typically I don’t do this with watercolor painting because it erases my lightest value. However, today I wanted to; there were few white areas of the still life, so it made sense to cover the whole paper.
Step 2: Mix the alizarin crimson and indian yellow watercolors to the pumpkin orange color
Mixing for the orange of the pumpkin is the hardest part of the process. I tried using both alizarin crimson and Venetian red. I didn’t have a cadmium red to use. However, if I were to do this experiment again with my color mixing I would try it with cadmium instead. The base color of the pumpkins is an indian yellow watered down with a touch of alizarin crimson.
Step 3: Paint the base color and begin glazing
After painting your base layer, you’ll want to continue to paint details through glazing. Glazing is a technique where you paint layers on top of layers of color to get darker tones. You can change the tone of the orange by slowly adding a little bit more red to your indian yellow.
Painting pumpkin shadows in watercolor
Painting pumpkin shadows with black will make your colors look dark, muddy, and grainy instead of vibrant. The shadows at the base of the pumpkin are sometimes painted using purple. I tried this out for the tutorial and it looked amazing. Purple and Orange cancel each other out, so it’s the perfect color for a shadow.
I watered down the purple a lot on my palette and added a little bit of orange. The shadows turned out quite striking with purple.
You can watch the full-length video below to see how I created the painting through glazing techniques.
Stay tuned for the next article on painting colorful fall leaves.