
How to Paint a Simple Watercolor Banana Still Life
In this tutorial we will be learning to paint a simple watercolor banana still life. Fruit paintings gained popularity in 2018 as food illustrators flooded Instagram. If you have never painted a piece of fruit, this watercolor tutorial will show you how to paint a simple banana.
Colors & Color Value
Establishing colors in your piece comes after you have figured out the values of your still life. Learning value will help you to identify which colors to mix later. It will also help you to train your eye to see shadows and highlights in the painting. You’ll see areas where objects overlap, touch, or cast shadows. Later in this tutorial we will discuss how to mix the colors to paint the banana. You can read about establishing color value and how to establish values in an upcoming article.
Colors Used:
Paynes Grey
Naples Yellow
Cadmium Yellow
Alizarin Crimson
Burnt Sienna
Drawing the Shape
The shape of the subject can make or break a painting. If you shape the subject incorrectly, it can look like a different object or trick the viewers eye into believing it’s not a banana. Our eyes are trained to recognize simple shapes quickly. This is my trick for getting a perfect banana shape. (You don’t have to know how to draw. In fact, some artists go straight to painting objects without sketching them first). Thinking about shape is as simple as observing whether a shape is a rectangle, square, circle, or oval.
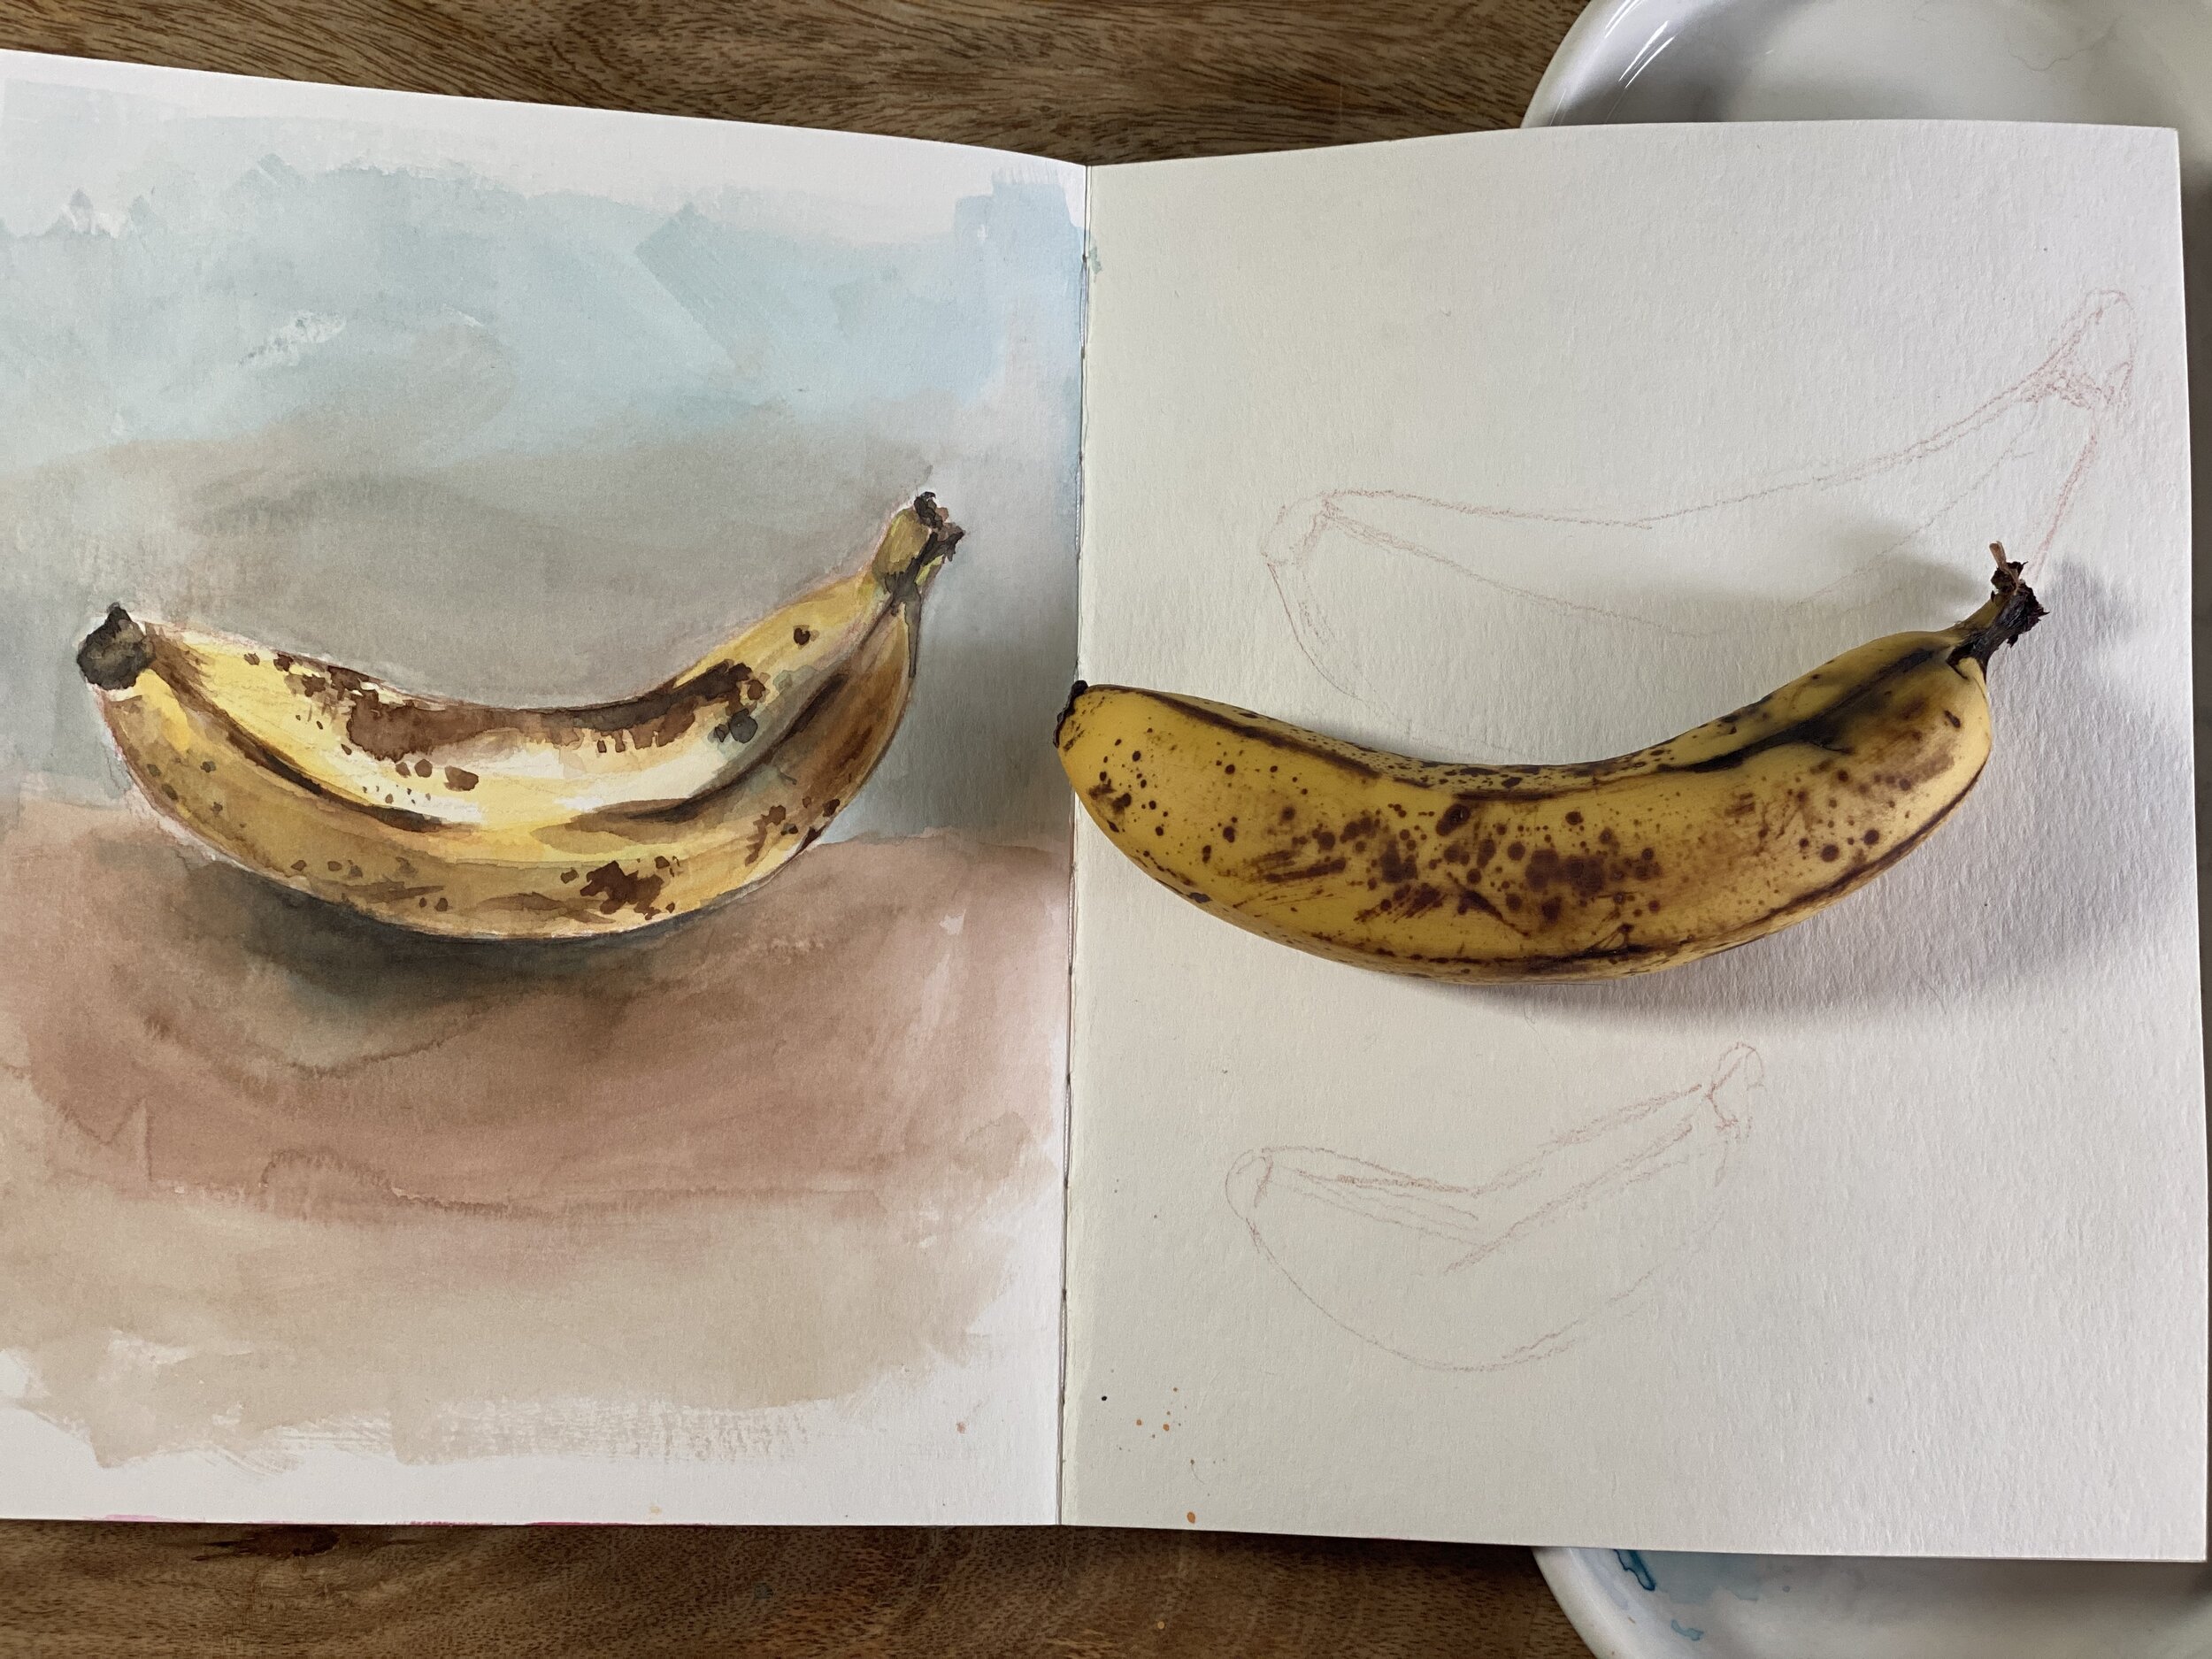
Sketching Still Lifes
When creating still life paintings, the sketch makes a difference. Begin with sketching the banana’s shape while focusing your eyes on the subject and trusting your hand to trace what it sees. This might feel uncomfortable at first. However, you’re training your eye to draw what it sees.

You can also just lay the banana on the paper and draw the outline around the actual banana. I enjoy practicing my drawing skills, so I do several sketches on paper before settling on one of them.
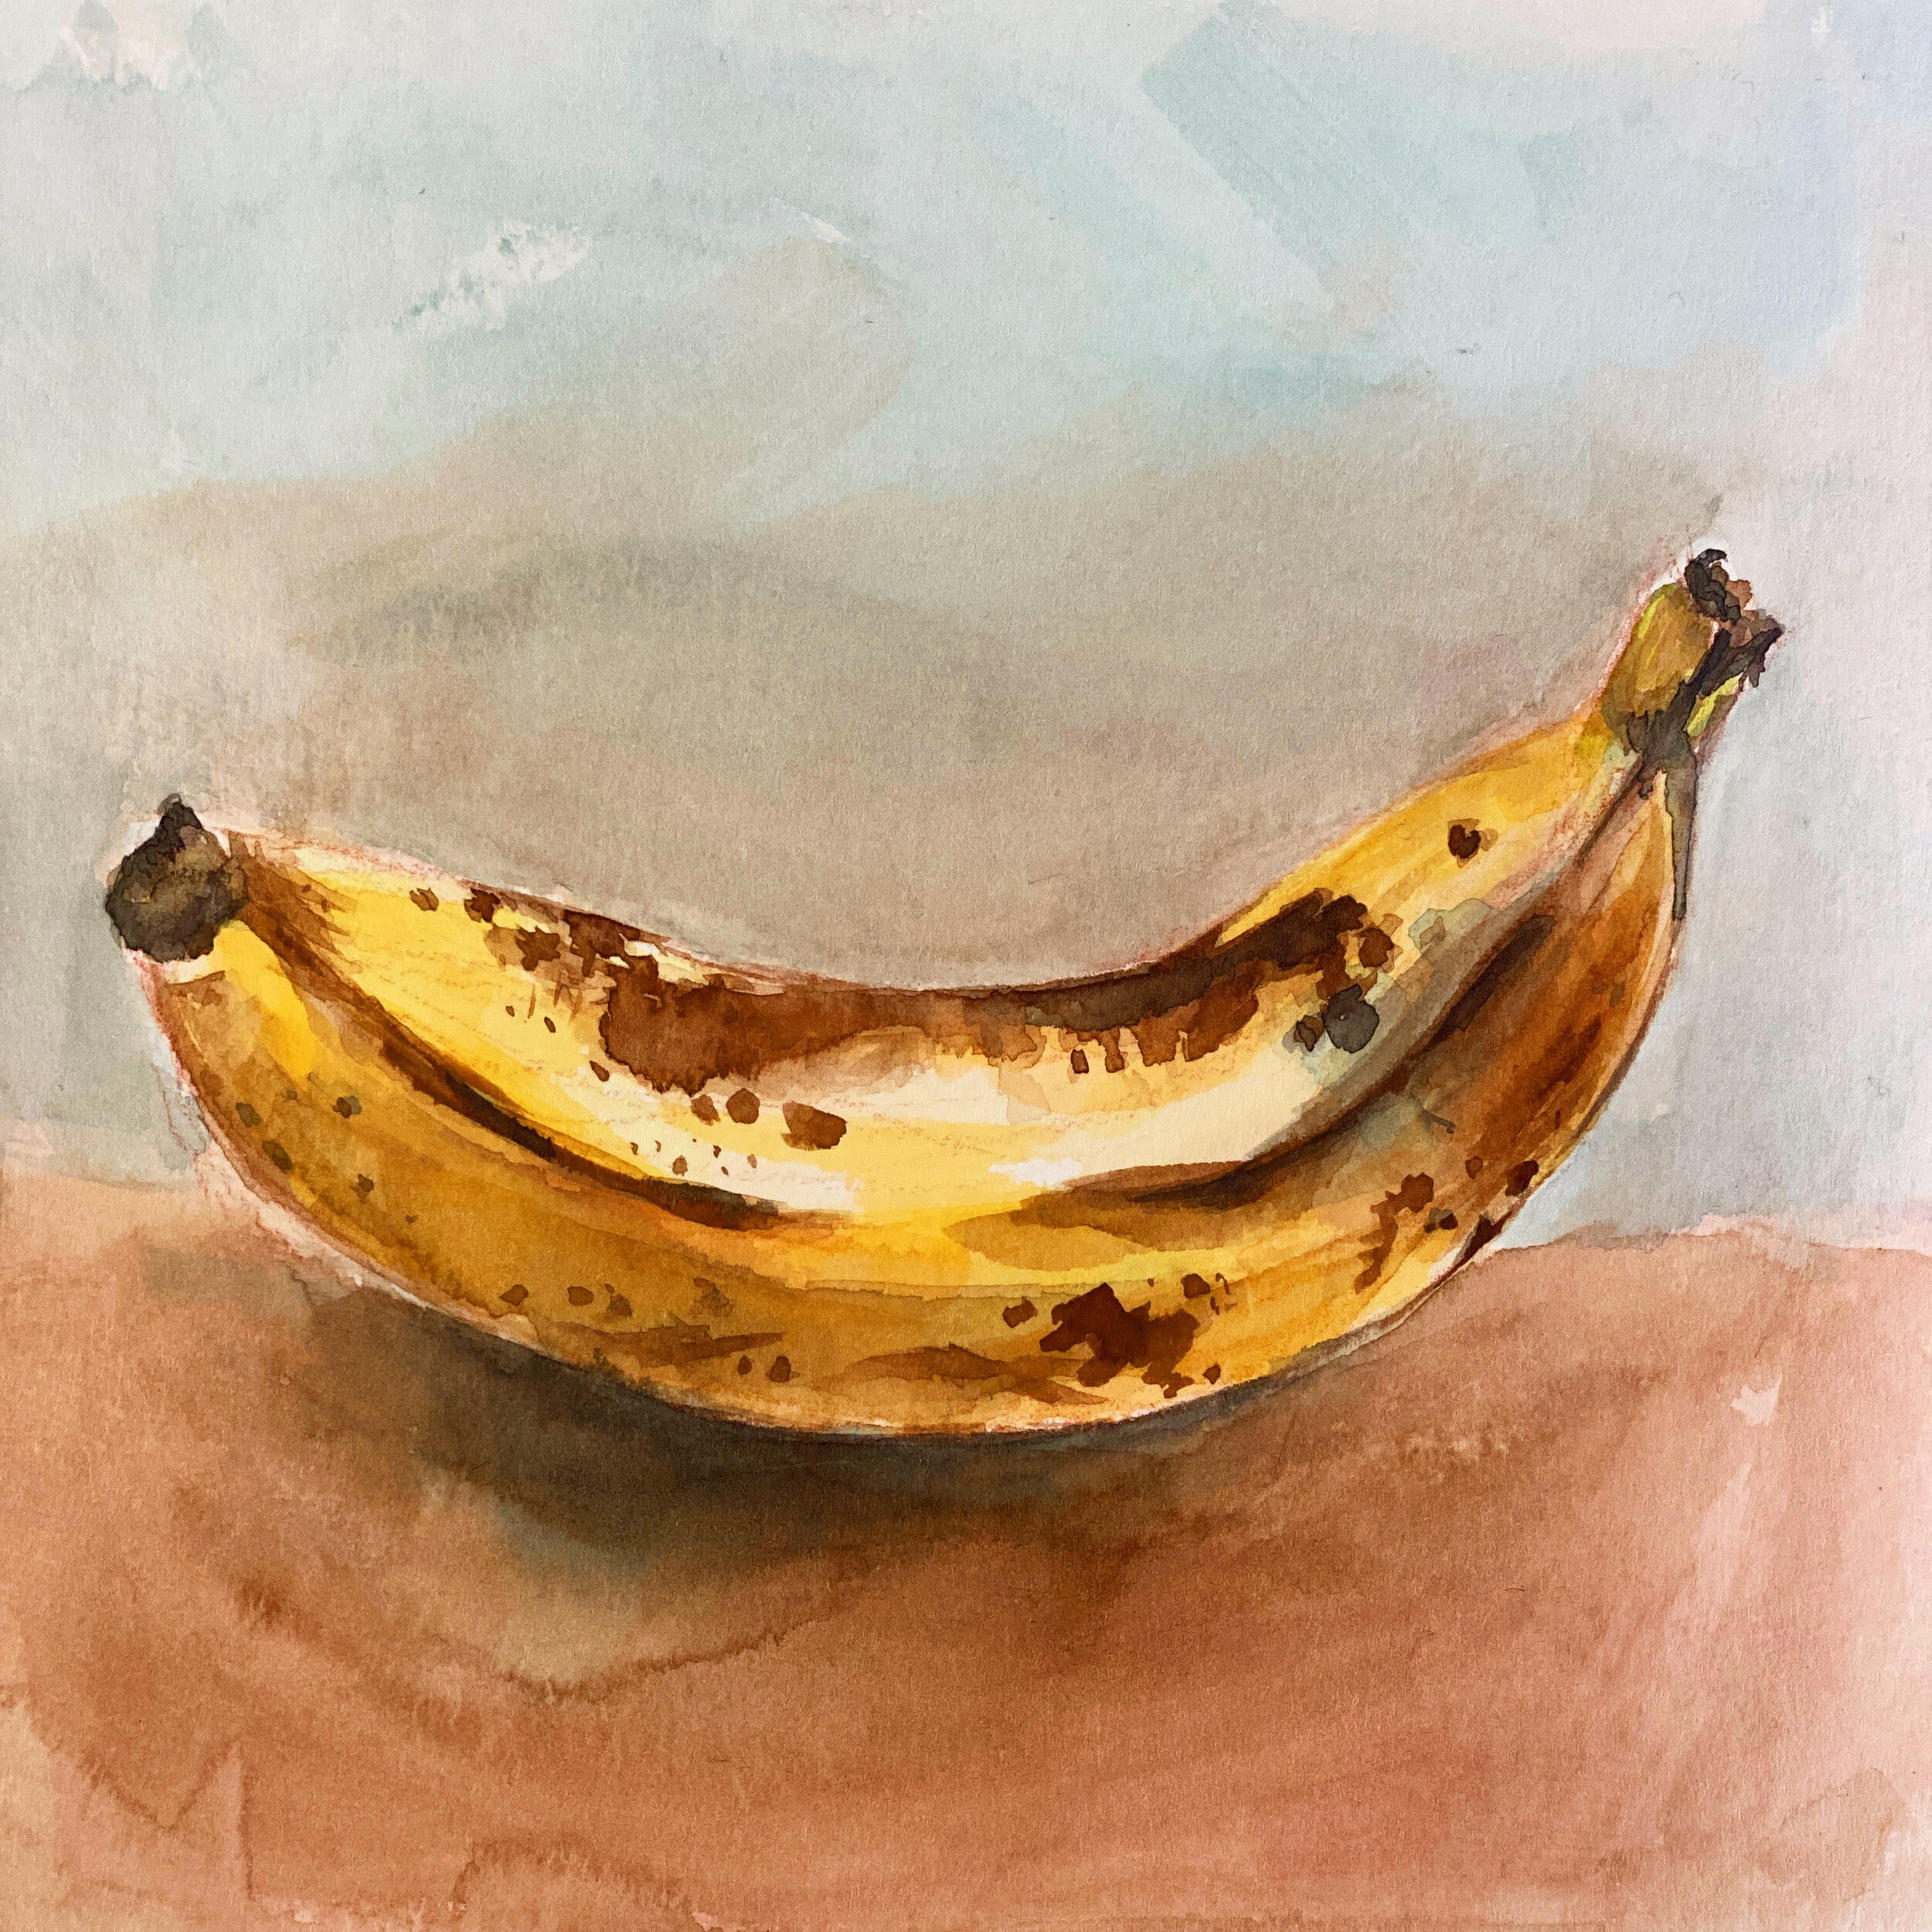
Base layer of Color
Painting the base layer involves looking at where the light is cast onto your subject. You can paint the base color (yellow) over the entire subject. Let that dry and then move on to the second layer. The form of the banana will emerge as you build layers of color. You can use other complimentary colors such as orange tones (for the hot areas). Hot areas are spots on the subject where light is hitting an area more than another.
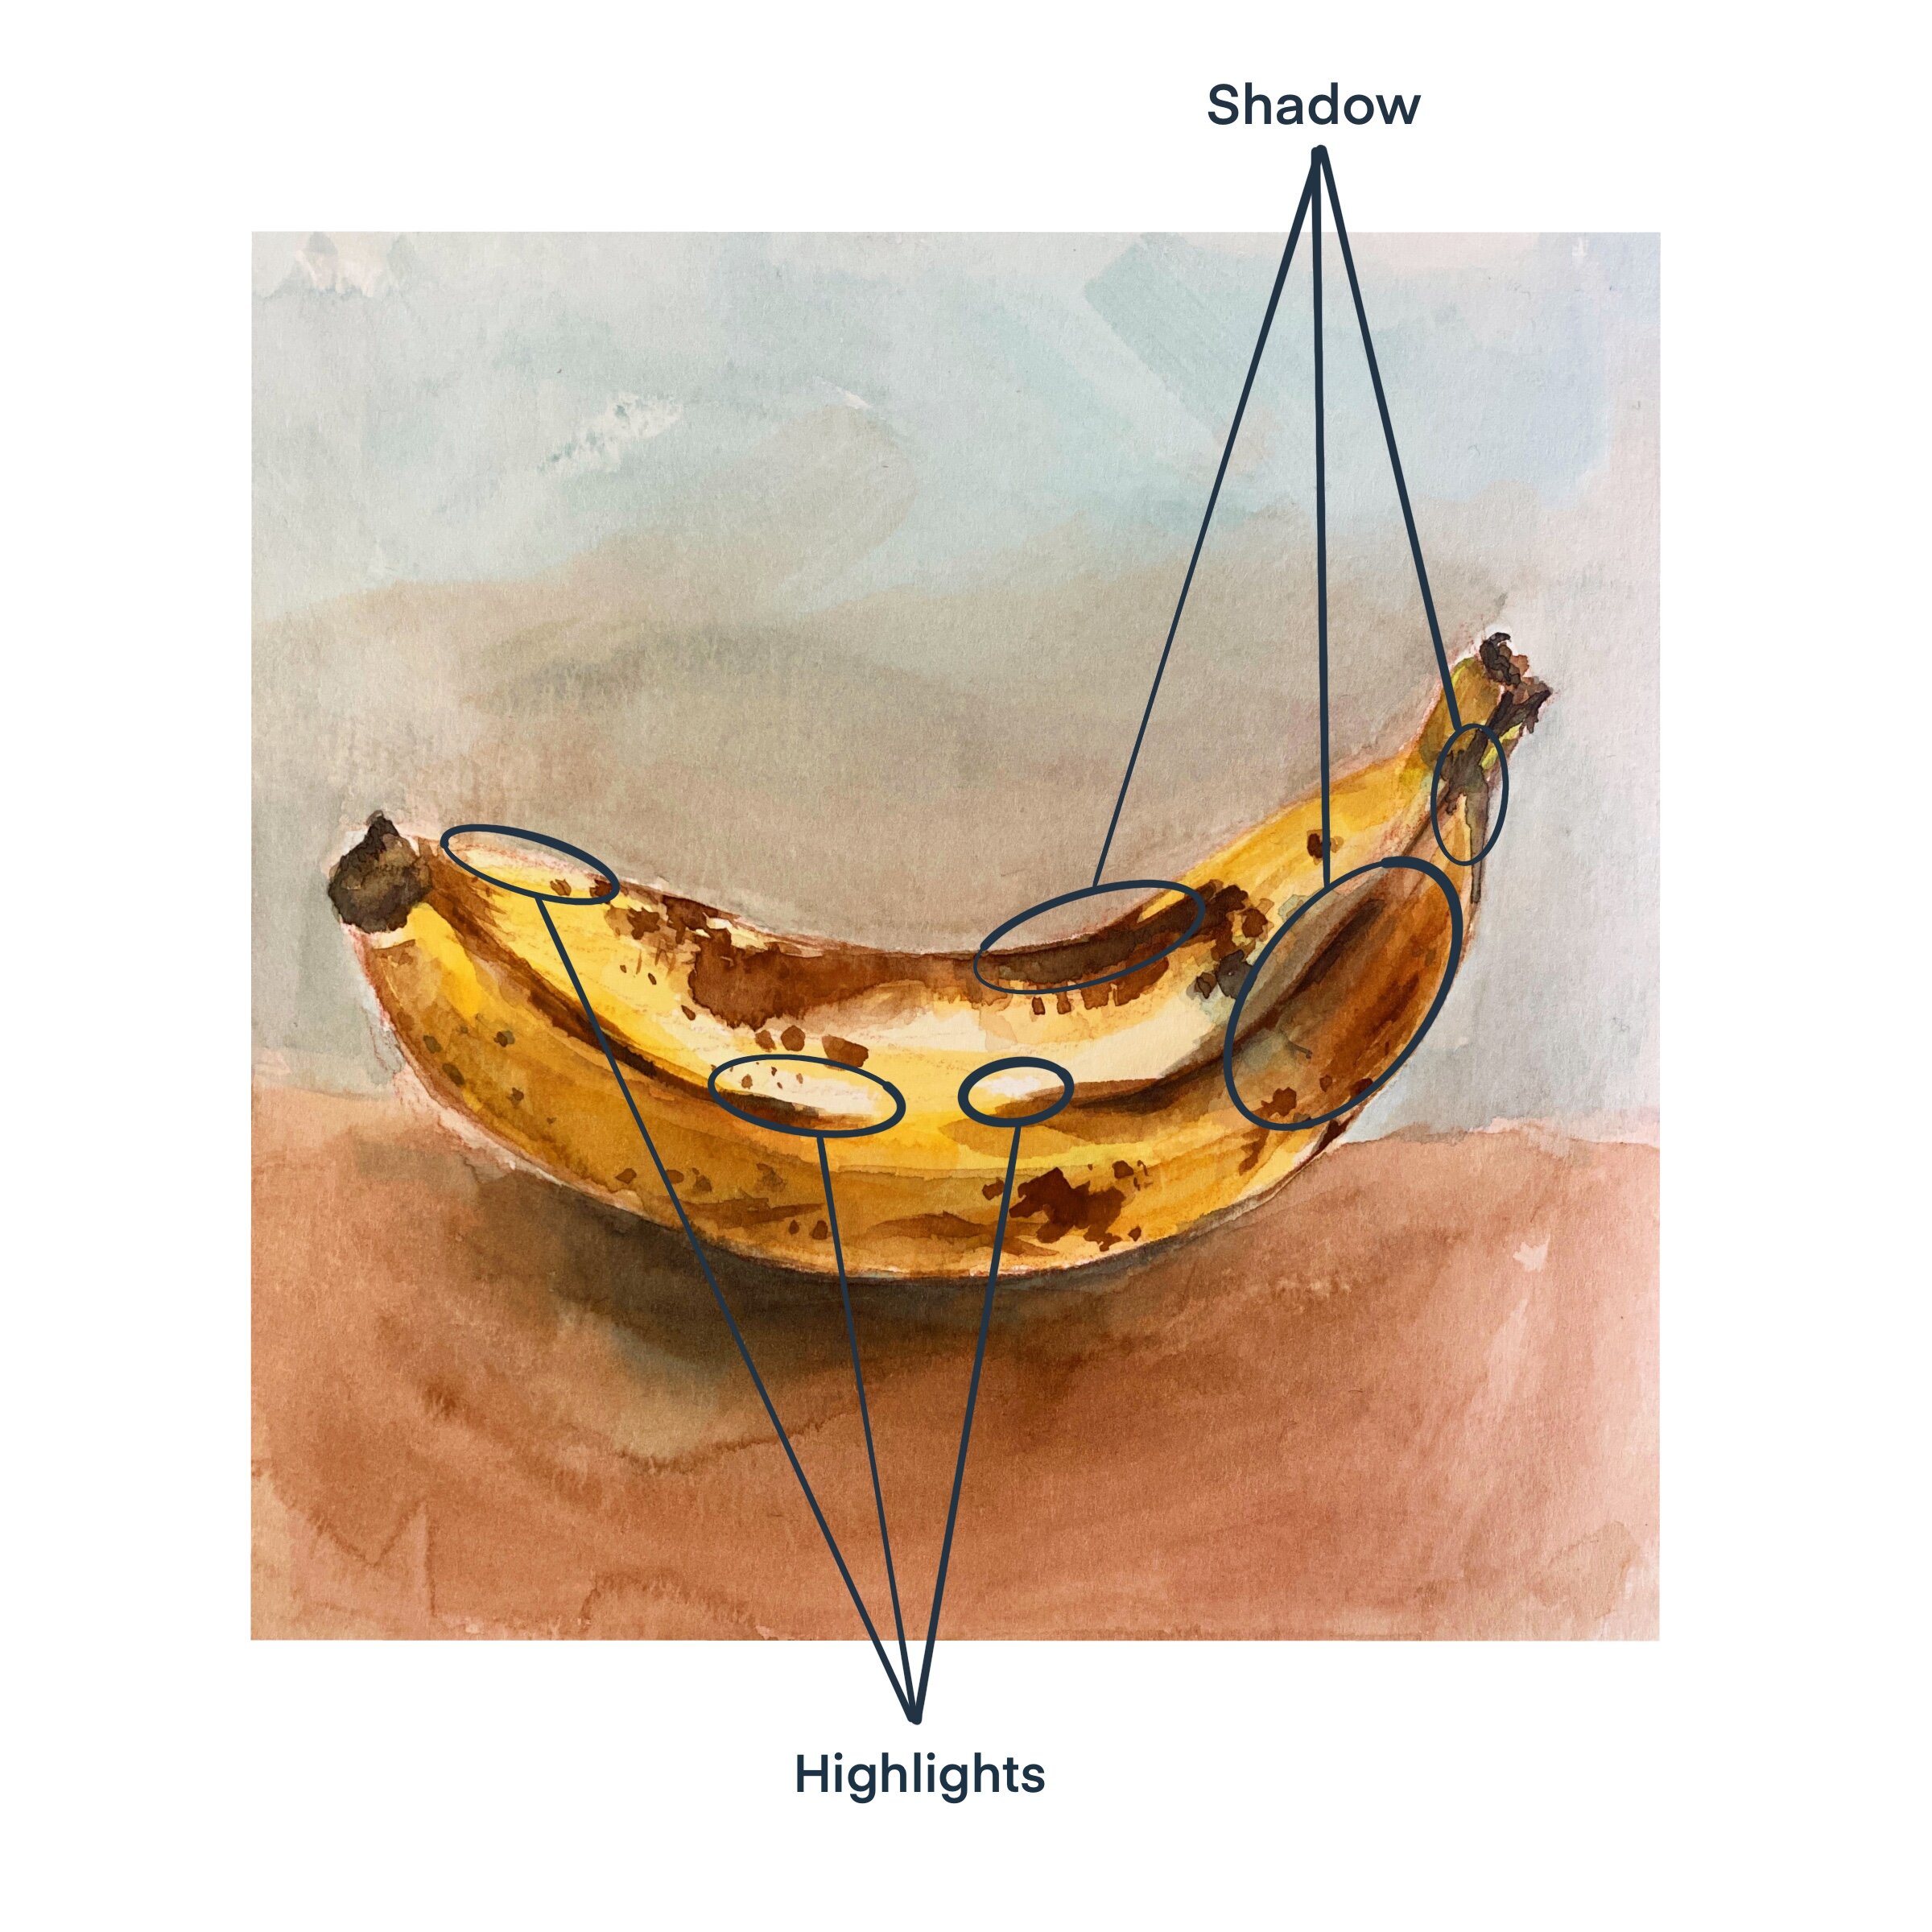
Typically, you will also mix a cool cast shadow color and use that for areas that have less light hitting the subject. You’re building colors until the form of the banana emerges. Areas of the banana pull forward and others push backward. The foreground typically is lighter than the background. Study this as you work through the fruit painting.
Building Color Through Glazing
Keep working layer by layer building color. Make sure the paper is dry before adding a new layer of color. I typically build up color on the banana and then establish a dark color (area of shadow or darks) and then begin to build up those areas simultaneously. It helps me to establish all of the values on the subject. Some artists will just keep building layers. I tend to call this a push and pull method. At times I will end the process by adding the darkest color and at other times I will end the process with the lightest values by adding them back in.
Value Keys Can Help
You can create a value key to study your subject. Value keys are covered in another blog entry. They are a very basic exercise where you create a key of light to dark using paint or colored pencil which will help you to identify where the different values are across the spectrum of your subject.